

<script> tag. This is the same AI assistant that powers the chat experience inside your members portal, but designed to work on sites where the portal is not available.
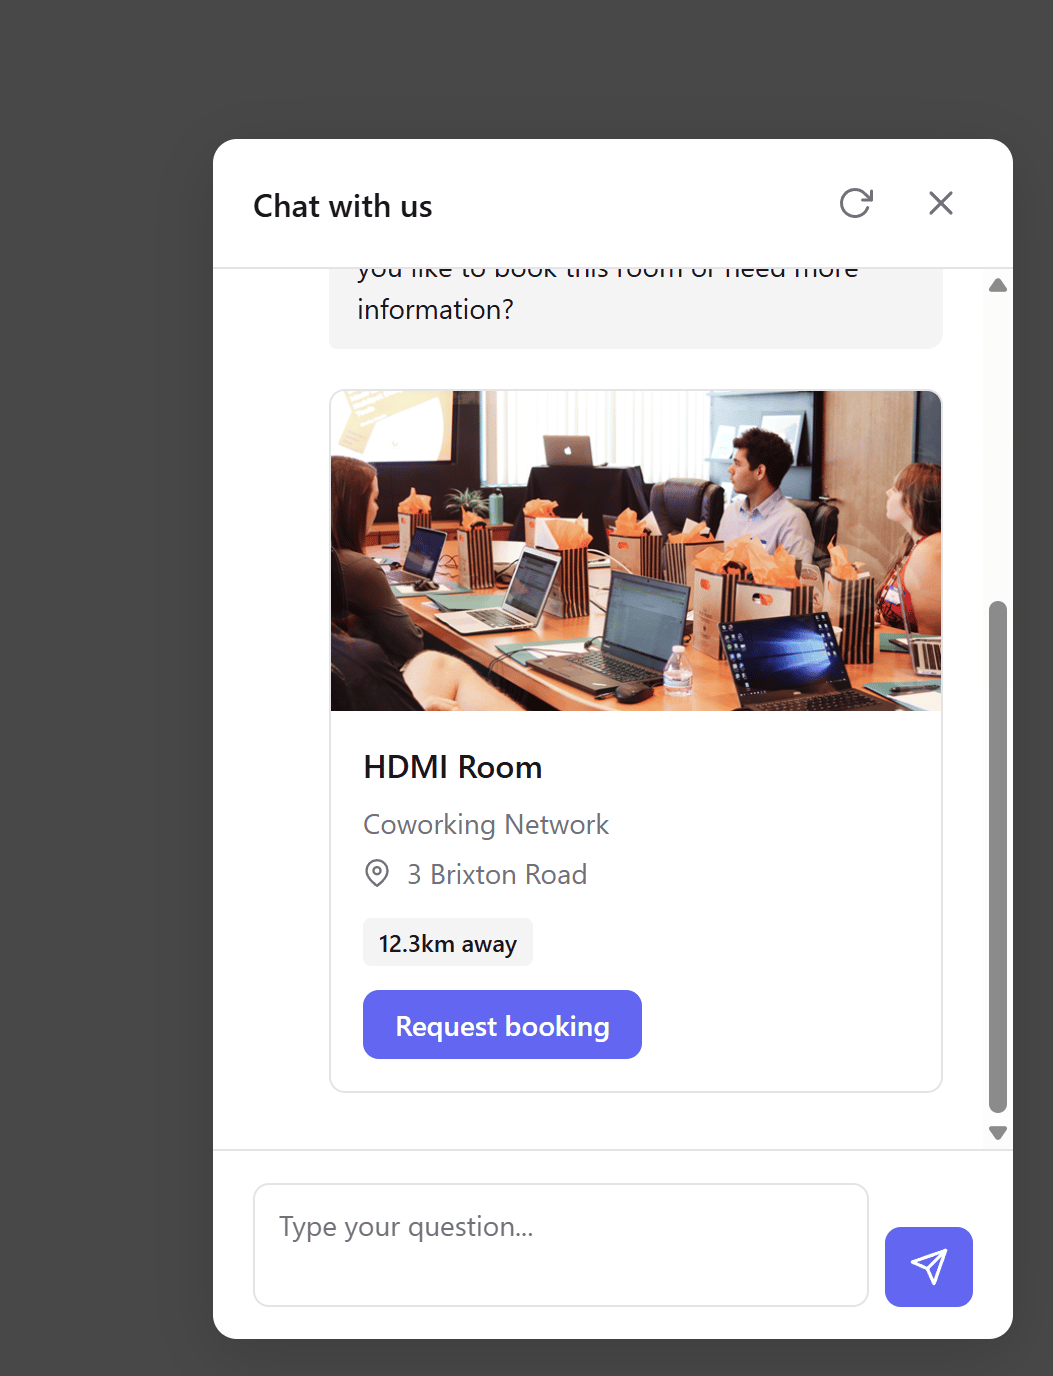
When to use the standalone widget
Use the standalone widget when you want to offer AI-powered conversations on pages outside the members portal:
The widget provides the same capabilities as the portal chat — answering questions about your location, rooms, membership plans, and day passes, as well as helping visitors book tours and resources.
The standalone widget shares the same conversation data with the portal. Conversations started on your external website appear in the AI Conversations list alongside portal conversations, so you get a unified view of all AI interactions.
How it works
The widget is a single JavaScript file that loads asynchronously. Once loaded, it:- Reads configuration from
data-*attributes on the<script>tag - Creates a floating action button in the corner of the screen
- Attaches a chat modal using Shadow DOM (completely isolated from your site’s styles)
- Communicates with the Nexudus AI API to process messages and return responses
document.body.
Adding the widget to your website
Step 1: Get your API base URL
The widget needs to know which Nexudus account to connect to. Your API base URL follows this format:{webAddress} is the Domain value shown in your Nexudus dashboard:
- Log in to dashboard.nexudus.com
- Go to Settings > Website
- Find the Domain field — this is your
webAddress
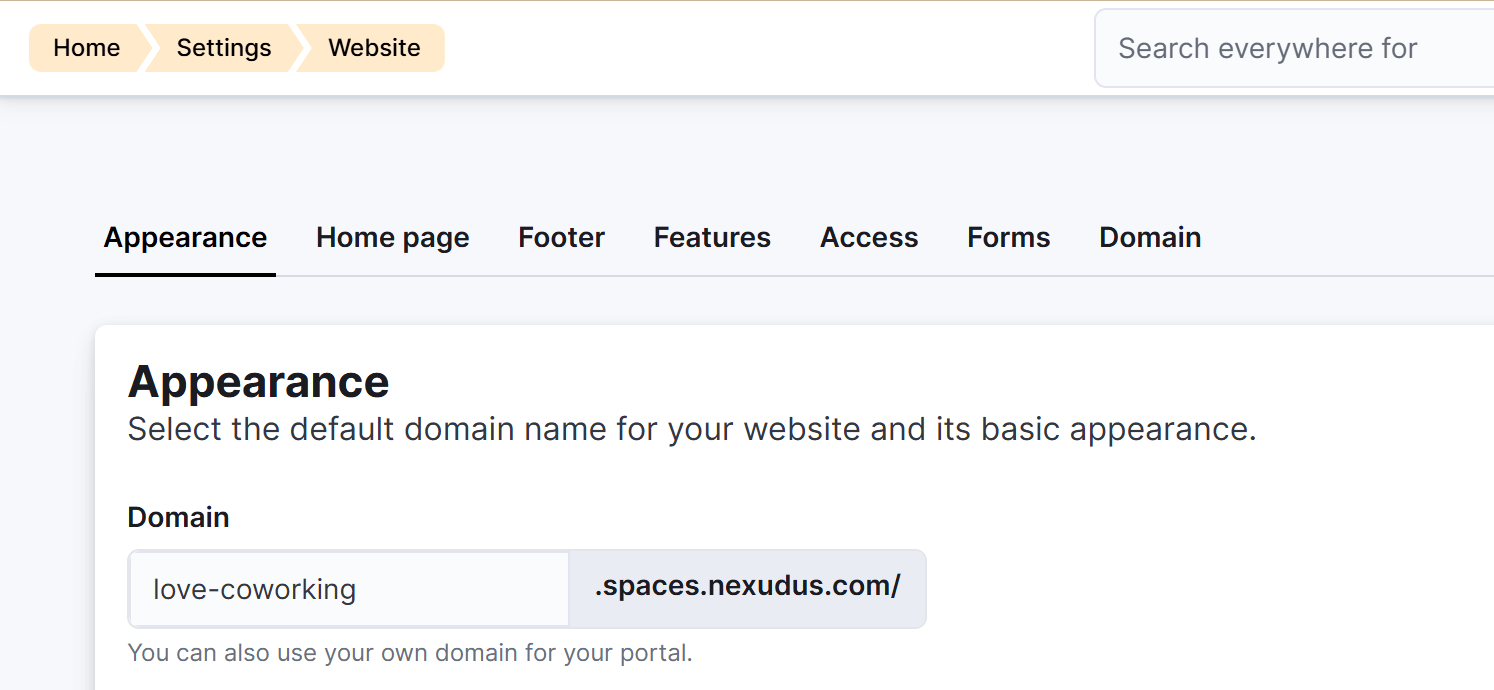
myworkspace, your API base URL is:
Step 2: Add the script tag
Place the following script tag before the closing</body> tag on your website:
myworkspace with your actual Domain value from the step above.
Step 3: Test the widget
Open your website in a browser. You should see a floating chat button in the bottom corner. Click it to open the chat modal and send a test message.Configuration parameters
All configuration is passed throughdata-* attributes on the <script> tag. The only required attribute is data-api-base.
Configuration examples
Left position with custom colors:Controlling the widget with JavaScript
After the widget loads, it exposes awindow.nxAiChat object that lets you control it programmatically from your website’s JavaScript.
Available methods
Examples
Open the chat when a user clicks a button on your page:Listening to widget events
The widget emits events during its lifecycle. You can subscribe to these events usingnxAiChat.on() and unsubscribe with nxAiChat.off().
Available events
Examples
Track when a booking is confirmed:Style isolation
The widget uses Shadow DOM to mount its UI, which means:- Your website’s CSS does not affect the widget’s appearance
- The widget’s CSS does not leak into your website
- The widget inherits the host page’s font family and base font size for a cohesive look
data-primary-color and data-text-color attributes. The widget adapts to these values using CSS custom properties.
If you need to override additional styles, you can target the shadow host element (
#nxai-root) and pass custom properties into the shadow root. However, this is rarely necessary — the built-in configuration options cover most use cases.Session persistence
The widget stores conversation history in the browser’slocalStorage, keyed by your data-api-base URL. This means:
- If a visitor closes the chat and returns later, their conversation history is restored
- Sessions expire after 7 days — older conversations are automatically discarded
- The “New chat” button in the chat header clears the session and starts fresh
Geolocation
Whendata-geolocation="true" (the default), the widget will request the visitor’s browser location on their first message. This allows the AI to calculate distances when presenting rooms, locations, and offices.
If the visitor denies the location permission, the widget continues to work normally — distance information is simply omitted from the AI’s responses.
Accessibility
The widget follows accessibility best practices:- All interactive elements have proper ARIA roles and labels
- Focus is trapped inside the modal when it’s open
- Escape closes the modal, Enter sends a message
- An
aria-live="polite"region announces new AI messages to screen readers - The widget respects
prefers-reduced-motion— the typewriter animation is skipped for users who prefer reduced motion
Size and performance
- The minified bundle is approximately 15–25KB gzipped
- The widget loads asynchronously and does not block page rendering
- No external dependencies — everything is contained in a single file
- The AI API is only called when the user sends a message
Troubleshooting
Comparison with portal chat
Related pages
- AI Assistant Overview — Learn about the AI assistant capabilities across all channels
- Chat Experience — The built-in portal chat widget
- Channels — Compare chat, email, WhatsApp, and voice channels
- Monitoring Conversations — View and analyse AI conversations in the admin panel
- Conversion Tracking — Track bookings, memberships, and tours from AI conversations